


Few months ago, I was browsing Pinterest, and I came across this new crochet technique called the Element CAL. what does it mean? I didn't know then, but I liked it so much that I started crocheting immediately. I followed the tutorial videos posted by itsallinanutshell.com, which I thank so much for the gorgeous Element CAL design and clear instructions. This technique needs a lot of concentration if its your first time trying it, nevertheless, with time your work will go smoothly.
I had a small bag full of cotton yarn (catania and alize), so I started working on this project inspired by the Element CAL pattern, and now I proudly present to you my Tiny Royal Baby Blanket.
Level: Advanced
Materials:
- Yarn: Schachenmayer, Catania, 100% cotton, yarn weight: sport. 50 g/ 1.75 oz. 125 m/ 137 yds. one skein of each: Anthrazit 429, Denim 421, Jade 253 and Gold 249. Alize, cotton baby, 50% cotton, 50% acrylic. Classical unbrushed, 100 g/ 3.53 oz. 270 m/295 yds. color 01, 2 skeins.
- Crochet Hook: US: E-4, 3.5 mm.
- Tapestry needle
Yardage: 800-850 m/ 875-930 yard.
Measures: 25 inch/ 64 cm long, 20.5 inch/ 53 cm wide.
Crochet Terms (US)
- ch: chain
- ss: slip stitch
- sc: single crochet
- dc: double crochet
- tr: treble crochet
- bpsc: back post single stitch
- fptr: front post treble crochet
Before you start:
Note 1: All treble crochet stitches are worked into second round below, in front of the previous round and skipping it (please watch www.itsallinanutshell.com's element CAL project tutorial videos)
cc1: Corner cluster one; (ch 3, tr in the center of ch 2 space of previous round, dc).
cc2: Corner cluster two; (dc, tr in the center of ch 2 space of previous round, dc).
Note 2: cc1 and cc2 terms will be used from round 4 and on.
Note 3: To make your work easier, always weave in ends when changing yarn.
Note 4: You can make the color combinations you like for 1-6 rounds. 7-8 rounds must be worked in alize yarn.
Instructions:
The granny square (make 30):
With any catania yarn, work the next four rounds:
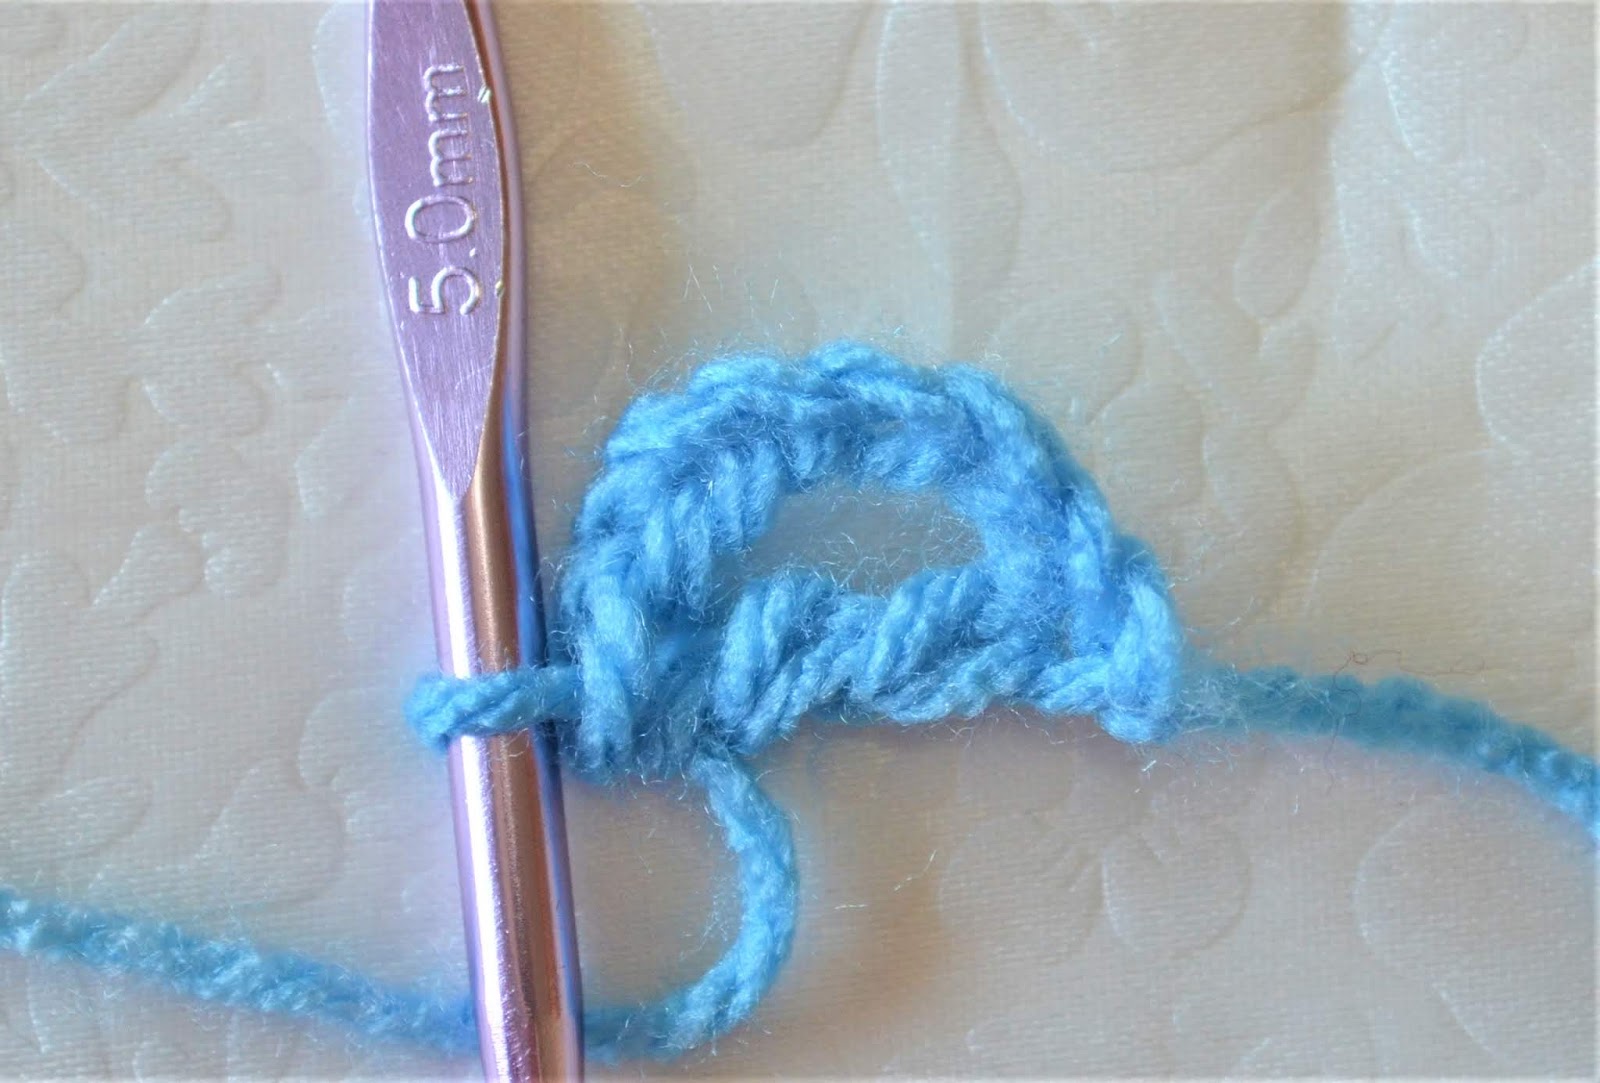
Round 1: make a magic ring, or chain five, ss to first ch.
Round 2: ch 3, dc, ch 2, *dc 2, ch 2, repeat from * three times, ss to third ch of first ch 3.

Round 3: ss to first ch 2 space, (ch 3, tr into round 1 (magic ring, or ch 5), dc, ch 2, dc, tr into round 1, dc) in ch 2 space.
*(dc, tr into round 1, dc, ch 2, dc, tr into round 1, dc), in next ch 2 space, repeat from * three times, ss to the third ch of first ch 3.


Round 4: ss to first ch 2 space, (cc1, ch 2, cc2) in ch 2 space, (dc, tr in between dc 2 of round 2, dc) in between the two clusters of previous round, *(cc2, ch 2, cc2) in next ch 2 space, (dc, tr in between dc 2 of round 2, dc) in between the two clusters of previous round, repeat from * three times, ss to the third ch of first ch 3.

Edging
Note: in each granny square of the border, ignore the corner sc 2 of round 8.
Round 1
With alize yarn, in any corner of the blanket, work as follows:
1. Blanket first corner: (cc1, ch 2, cc2) in the ch 2 space.
2. Granny square side: ch 1, sc in each bpsc sts 18 times, ch 1.
3. Between two granny squares: (dc, fptr in the last fptr of round 7 vertically, dc) in ch 2 space of wright side granny square, ch 2, (dc in ch 2 space, fptr in first fptr of round 7 vertically, dc) in ch 2 space of left side granny square.
Repeat 2 and 3 alternately as many as needed, until the second corner.
4. Blanket second corner: (cc2, ch 2, cc2) in the ch 2 space,
work 2, 3 and 4 all along the rest of blanket sides and corners as many as needed, sc to third ch of first ch 3, cut alize yarn.
Round 2
Bind on gold catania yarn in last ch 1 space of edging round 1.
1. Blanket first corner: (ch 3, tr in ch 2 space of round 7, dc)in ch 1 space, (cc1, ch 2, cc2) in the ch 2 space, (dc, tr in ch 2 space of round 7, dc) in next ch 1 space.
2. Granny square side: ch 1, skip sc, sc in each sc 16 times, skip sc, ch 1.
3. Between two granny squares:
- Wright side granny square: (dc, tr in ch 2 space of round 7, dc) in ch 1 space, (dc, tr in bpsc of round 8 vertically, dc) in ch 2 space, ch 2.
- Left side granny square: (dc, tr in bpsc of round 8, dc) in ch 2 space, (dc, tr in ch 2 space of round 7, dc) in ch 1 space.
Repeat 2 and 3 alternately as many as needed, until the second corner.
4. Blanket second corner: (dc, tr in ch 2 space of round 7, dc) in ch 1 space, (cc2, ch 2, cc2) in the ch 2 space, (dc, tr in ch 2 space of round 7, dc) in next ch 1 space.
Work 2, 3 and 4 all along the rest of blanket sides and corners as many as needed, sc to third ch of first ch 3.
Round 3:
1. Blanket first corner: in between the first two clusters, (ch 3, fptr into fptr of edging round 1, dc), (cc2, ch 2, cc2) in the ch 2 space, (dc, fptr into fptr of edging round 1, dc) in between next two clusters, ch1.
2. Granny square side: ch 1, skip sc, sc in each sc 14 times, skip sc, ch 1.
3. Between two granny squares: (dc, fptr into fptr of edging round 1, dc) in between the first two clusters, (cc2, ch 2, cc2) in the ch 2 space, (dc, fptr into fptr of edging round 1, dc) in between next two clusters.
Repeat 2 and 3 alternately as many as needed, until the second corner.
4. Blanket second corner: ch 1, (dc, fptr into fptr of edging round 1, dc) in between the first two clusters, (cc2, ch 2, cc2) in the ch 2 space, (dc, fptr into fptr of edging round 1, dc) in between next two clusters, ch 1.
work 2, 3 and 4 all along the rest of blanket sides and corners as many as needed, ch 1, sc to third ch of first ch 3, cut gold yarn.
Round 4:
Bind on alize yarn in the first ch 2 space of any corner.
1. Blanket first corner: (ch 3, fptr into fptr of edging round 2, dc) in ch 2 space, (dc, fptr into fptr of edging round 2, dc) in between the next two clusters, (cc2, ch 2, cc2) in the ch 2 space, (dc, fptr into fptr of edging round 2, dc) in between next two clusters, (dc, fptr into fptr of edging round 2, dc) in ch 2 space.
2. Granny square side: skip sc, sc in each sc 12 times, skip sc.
3. Between two granny squares: (dc, fptr into fptr of edging round 2, dc) in ch 1 space, (dc, fptr into fptr of edging round 2, dc) in between the next two clusters, (cc2, ch 2, cc2) in the ch 2 space, (dc, fptr into fptr of edging round 2, dc) in between next two clusters, (dc, fptr into fptr of edging round 2, dc) in ch 1 space.
Repeat 2 and 3 alternately as many as needed, until the second corner.
4. Blanket second corner: (dc, fptr into fptr of edging round 2, dc) in ch 2 space, (dc, fptr into fptr of edging round 2, dc) in between the next two clusters, (cc2, ch 2, cc2) in the ch 2 space, (dc, fptr into fptr of edging round 2, dc) in between next two clusters, (dc, fptr into fptr of edging round 2, dc) in ch 2 space.
Work 2, 3 and 4 all along the rest of blanket sides and corners as many as needed, ch 1, sc to third ch of first ch 3.
Round 5:
1. Blanket first corner: (ch 3, fptr into fptr of edging round 3, dc) in between first two clusters, (dc, fptr into fptr of edging round 3, dc) in between the next two clusters, (cc2, ch 2, cc2) in the ch 2 space, (dc, fptr into fptr of edging round 3, dc) in between next two clusters twice, ch 1.
2. Granny square side: ch 1, skip sc, sc in each sc 10 times, skip sc, ch 1.
3. Between two granny squares: (dc, fptr into fptr of edging round 3, dc) in between two clusters tiwce, (cc2, ch 2, cc2) in the ch 2 space, (dc, fptr into fptr of edging round 3, dc) in between next two clusters twice,
Repeat 2 and 3 alternately as many as needed, until the second corner.
4. Blanket second corner: ch 1, (dc, fptr into fptr of edging round 3, dc) in between two clusters tiwce, (cc2, ch 2, cc2) in the ch 2 space, (dc, fptr into fptr of edging round 3, dc) in between next two clusters twice, ch 1.
work 2, 3 and 4 all along the rest of blanket sides and corners as many as needed, ch 1, sc to third ch of first ch 3, cut yarn, weave in loose ends.
Lastly, feel free to leave a comment if you have any questions or find something confusing in the pattern.
Happy crocheting/knitting! follow me on Instagram @wiams_crafts and Twitter @wiamscrafts to see my upcoming projects.


